Lerp (애니메이션 선형 보간)
애니메이션을 이용해서 선형 보간(Linear Interpolation)를 쉽게 구현해봅시다.읽는데 8분 정도 걸려요.Flutter Color의 lerp() 와 연결되는 내용은 아닙니다.
(이론적인 부분은 일맥상통 하지만, 정확히는 애니메이션에 대한 포스트 입니다)
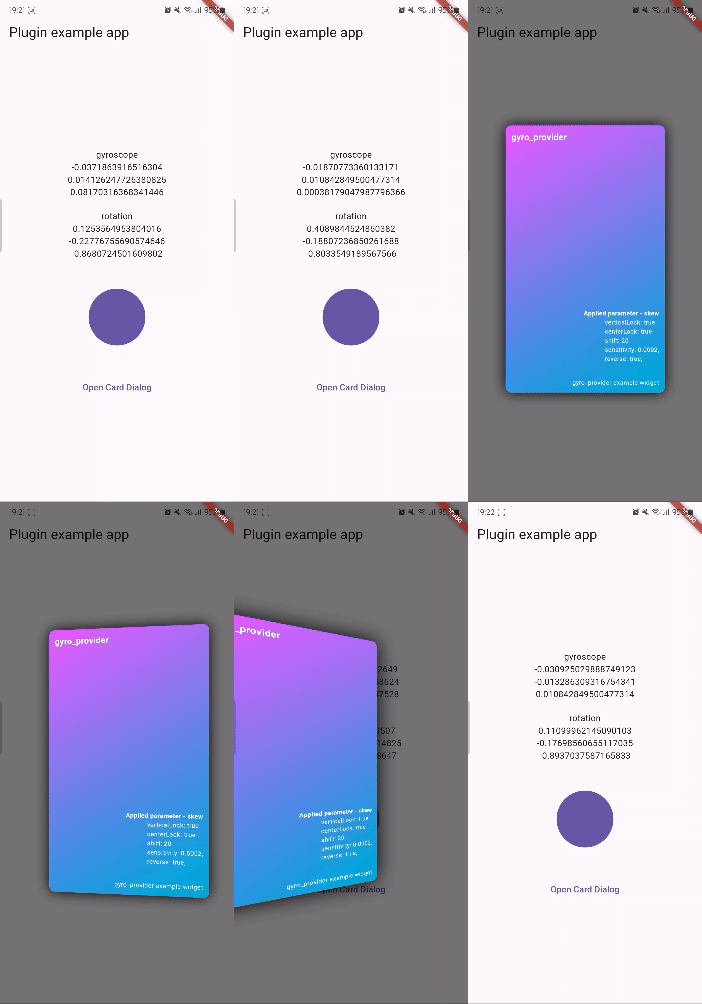
우선 시작하기에 앞서 gyro_provider 플러그인을 소개합니다~
저의 첫 라이브러리이자, pub.dev 데뷔 작품(?)입니다 ㅎㅎ

모바일 기기의 자이로스코프 센서를 이용해서 위젯을 변형시키거나, 센서 값을 제공하는 라이브러리 입니다.
이번 포스트는 이 플러그인을 개발하며 배웠던 내용을 소개 하겠습니다.
문제 인지
Flutter Animation은 AnimationController가 지정한 시간(Duration)동안 동작합니다.
_animationController = AnimationController(
  vsync: this,
  duration: Duration(seconds: 1),
)
그리고 Animation은 AnimationController에 의해 변화되는 값을 보관하고 있죠.
_xAnimation = Tween<double>(
  begin: 0,
  end: _xTarget,
).animate(_animationController);
예로 들어 AnimationController의 값이 0에서 1로 1초 동안 변할 동안 _xAnimation의 값은 0에서 _xTarget까지 1초 동안 변화하는 것이죠.
즉, AnimationController에 의해 Animation의 값이 선형 보간되는 것입니다.
만약 _xTarget의 값이 도중에 변한다면 어떻게 될까요?
문제 발생
여기서 문제가 발생합니다.
애니메이션은 새로운 _xTarget 값을 향해 바뀌는 것이 아닌, 바뀌기 전의 _xTarget값을 향해 선형 보간될 것입니다.
Lerp
바뀐 후의 _xTarget값을 향하여 선형 보간을 하기 위해서는 AnimatedContainer를 리셋시키고 Animation을 재정의 해야 합니다.
_animationController.reset();

_xAnimation = Tween<double>(
  begin: 0,
  end: _xTarget, // new value
).animate(_animationController);

_animationController.forward();
하지만 이런식으로 코드를 짠다면 문제가 발생하겠죠.
시작점(begin)이 0으로 초기화 되기 때문입니다.
따라서 begin의 값은 AnimationController를 초기화 하기 직전의 Animation의 값을 가지고 있어야 할 것 입니다.
var currX = _animation.value;

_animationController.reset();

_xAnimation = Tween<double>(
  begin: currX,
  end: _xTarget, // new value
).animate(_animationController);

_animationController.forward();
위와 같이 코드를 수정한다면, _xTarget가 변경되었을 때, 위 코드를 실행하면
진행되던 애니메이션이 이어서 부드럽게 새로운 애니메이션이 되어 새로운 _xTarget를 향하여 진행할 것입니다.
장점
AnimatedContainer의 Duration보다 짧은 시간안에 _xTarget 값이 변하더라도 애니메이션을 부드럽게 진행시킬 수 있습니다.
즉, _xTarget이 변할 때마다 새로운 선형 보간을 적용할 수 있게 되는 것입니다.
단점
AnimatedContainer의 Duration이 길수록 '뭔가 늦게 반응한다' 라는 느낌을 받으실 수 있습니다.
그렇다고 Duration을 _xTarget이 변화하는 주기보다 짧게 설정할 경우에는 애니메이션 중간마다 끊기는 느낌을 받을 수 있습니다.
코드 리뷰
그럼 선형 보간과 관련한 gyro_provider의 코드를 리뷰해보며 이해를 굳혀봅시다.
forward
우선 애니메이션이 진행 중입니다.
void initState() {
super.initState();
...
// Initialize animation
_animationController = AnimationController(
vsync: this,
duration: widget.animationDuration,
)
..addListener(_animationListener)
..addStatusListener(_animationStatusListener);
_linearCurve = CurvedAnimation(
parent: _animationController,
curve: Curves.linear,
);
_easeCurve = CurvedAnimation(
parent: _animationController,
curve: Curves.easeOut,
);
_xAnimation = Tween<double>(
begin: 0,
end: _xTarget,
).animate(_linearCurve);
_yAnimation = Tween<double>(
begin: 0,
end: _yTarget,
).animate(_linearCurve);
_animationController.forward();
}
0에서 _xTarget 으로 이동 중이겠죠.
change target
그러다 _xTarget의 값이 변화합니다.
  void _gyroListener() {
    var value = _gyroscopeController.value;
    _gyroData.value = value;
    widget.gyroscope?.call(value);

    if (value.x.abs() < 0.1 && value.y.abs() < 0.1 && !widget.centerLock) {
      ...
    }
    // Change the target rotation angle by the amount the sensor value changes
    // and animate toward that value.
    else {
      _xTarget += value.x;
      _yTarget += value.y;
    }
    // The animation only changes when the widget is not being moved to the center.
    if (!_onCenter) {
      _animation(curve: _linearCurve);
    }
  }
하지만, 현재 AnimatedContainer가 변형시키는 Animation의 _xTarget 값은 변화하지 않았습니다.
reset
따라서 애니메이션을 중지시키고 재설정을 합니다.
하지만, 중지 시키기 전에 현재까지 변화한 Animation의 값을 보관합니다.
  void _animation({required CurvedAnimation curve}) {
    if (!mounted) return;

    var xCurr = _xAnimation.value;
    var yCurr = _yAnimation.value;
    _animationController.reset();
    _xAnimation = Tween<double>(
      begin: xCurr,
      end: _xTarget,
    ).animate(curve);
    _yAnimation = Tween<double>(
      begin: yCurr,
      end: _yTarget,
    ).animate(curve);
    _animationController.forward();
  }
(re)forward
그리고 다시 애니메이션을 동작 시킵니다.
  void _animation({required CurvedAnimation curve}) {
    if (!mounted) return;

    var xCurr = _xAnimation.value;
    var yCurr = _yAnimation.value;
    _animationController.reset();
    _xAnimation = Tween<double>(
      begin: xCurr,
      end: _xTarget,
    ).animate(curve);
    _yAnimation = Tween<double>(
      begin: yCurr,
      end: _yTarget,
    ).animate(curve);
    _animationController.forward();
  }
마무리
코드 전문은 오픈소스로 공개된 gyro_provider 레포에서 확인하실 수 있습니다.
Flutter Animation에 대해 잘 모르는 상태로 플러그인 개발 프로젝트를 시작했는데,
무작정 시도하긴 했지만, 배워가는 점도 많았던거 같습니다.
(적어도 AnimationController, Animation은 나름 자유자재로 사용할 수 있게 되었다는 거?)
사실 네이티브 코드에서 센서의 인터벌(interval)을 매우 빠르게 설정하면(초당 60 이상) 애니메이션을 구현할 필요도 없을 것입니다.
하지만, 초당 60번의 통신은 성능 저하의 원인이 될 수 있다는 생각이 들었고,
기기 사양이 안좋은 경우에는 초당 60회의 통신이 불가능할 수도 있을지도 몰랐기에 이런 방식으로 구현했습니다.
(초당 10~15회 통신, 기기 주사율에 맞도록 사이의 값은 애니메이션을 이용해 lerp(선형 보간))
이 부분을 문제 인지에 적는게 나았을지도..
사실 신경 쓸 필요도 없을지도 모르지만, 이런 고민 덕분에 새로운 시도를 할 수 있게 되어 오히려 좋았던 거 같습니다.